Magento installation procedures can be a little daunting task for beginners who aren’t sure about their technical skills. But this guide will help get through. Here’s a step-by-step procedure that will make it even easier for beginners to set up their online website flawlessly. Let’s begin
What Is Magento?

Magento is an open-source cms eCommerce solution having a user-friendly interface and great performance that allow merchants to sell their products and services online. From the technical point of view, it is based on the Zend Framework of PHP language. From the business view, it has all the needed options for B2C and B2B commerce: Community/Enterprise versions and Cloud.
Why Magento?
The main reason for being a top-rated source (apart from being open-source software, of course) is that Magento’s architecture, interface, and performance are especially flexible and can be easily adjusted according to particular requirements. The most significant benefits are:
- Easy and flexible configuration
- Intuitive interface for content management
- Stability even with 100.000+ products
- Compatibility with the most demanded third-party systems
- Built-in SEO functionality
- Mobile-friendly structure
- A large choice of Magento 2 extension
Let’s get started and proceed to the Magento tutorial which helps to install Magento
Run the Magento installation
To make it through the whole process without any errors, there are some steps that you have to do before installing. Ensure your system meets all the system requirements of Magento, you can check them on the Magento website.
1. Download Magento
Go to the Download site of Magento
For beginners, you should select to download the Installation ZIP, because it’s simply for installing, with no commands.
2. Unzip the Magento File
After installing the file downloaded from the Magento website, you need to unzip and then put them into the root folder where you want to install Magento. If you host your own server by XAMPP, put your files into the ‘htdocs’ folder.
3. Create a Database
In this step, you need to create a Database for Magento on your hosting Magento. For example, with XAMPP you can create your database on PHPmyadmin.
Once the database is created, now you can run the Magento installation.
3.1. Run the Installation
On your browser, you can go to the Magento folder. A window that shows the Magento Downloader welcome page will appear. Click on the ‘Agree and Setup Magento’ button to move ahead.
3.2. Readiness Check
In this first step, the Magento setup will check the hosting settings, PHP version, PHP extensions, compatibility, and file permissions. Click on the ‘Start Readiness Check’ button to initiate.
There might be some error warnings appearing, and you can click ‘more detail’ for further information about the problems, you must solve all the errors before checking your readiness again.
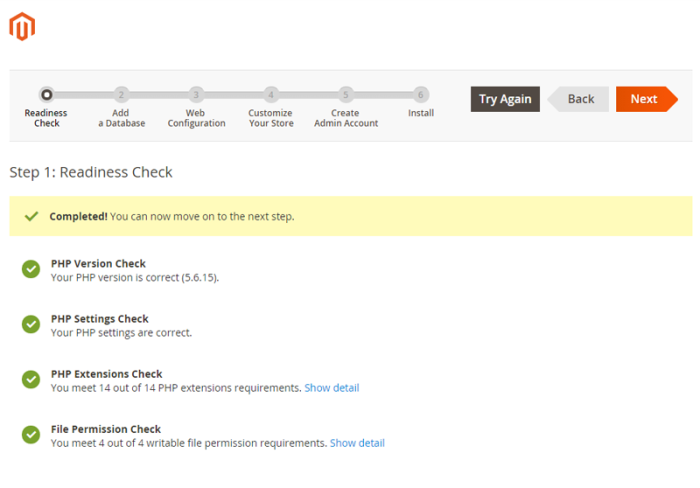
When the check is successful then you can go to the next step by clicking on the ‘Next’ button
3.3. Add the Database
Remember the database we created before; in this step, you have to add the details of that database. Fill in the details such as Database Server Host, Database Server Username, Database Server Password, Database Name, and Table Prefix.
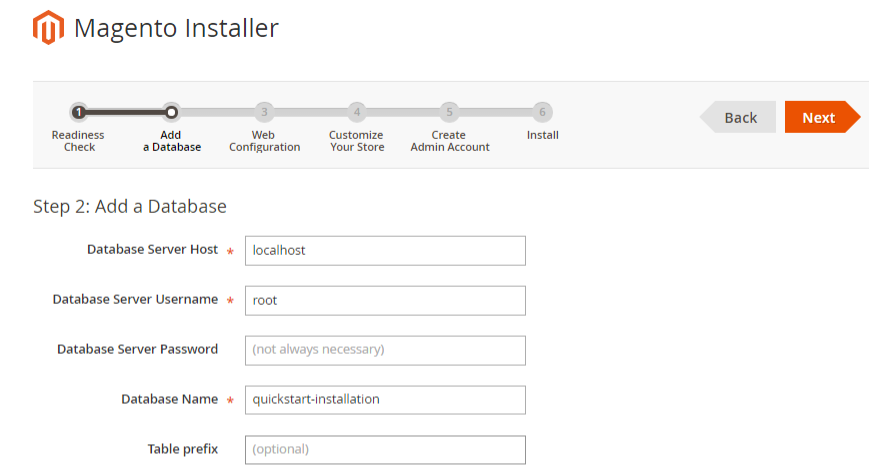
Click on the Next button after you have correctly filled the fields.
3.4. Magento Web Configuration
At this step, you need to add your Store Address and Magento Admin Address and Encryption Key type, and Session Save. Enter the base URL for your website in Your Store Address Box.
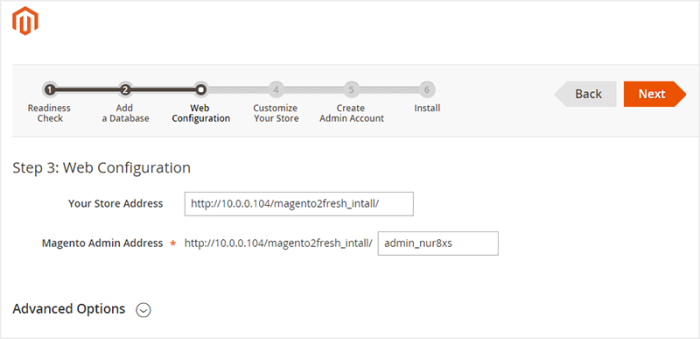
For the Magento Admin Access you have to enter the base URL for the website’s Admin panel, you can leave it there, and the default value will be left as admin.
3.5. Customize Your website
This step allows you to add the details of your store such as the default time zone for the store, default currency, and language. However, you can change these values anytime you want.
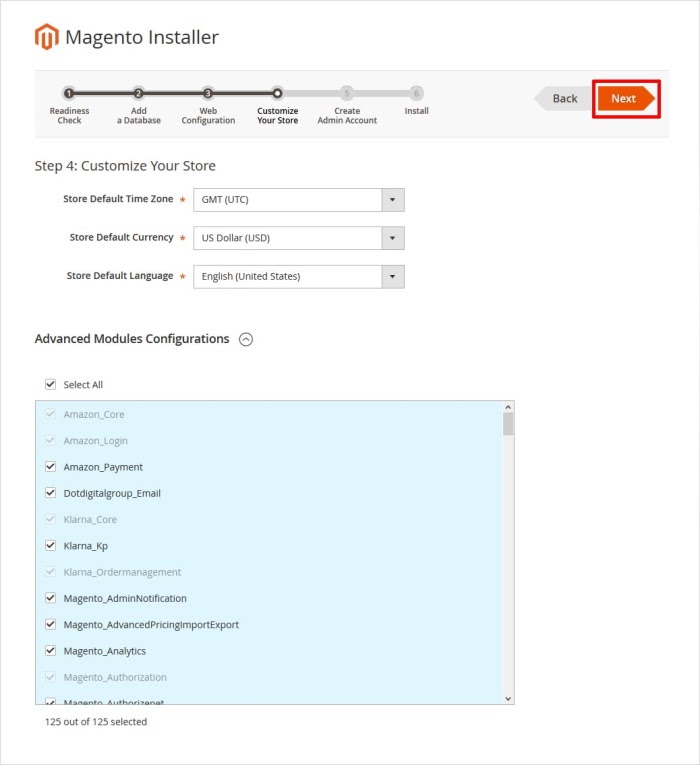
There are also some other advanced options to configure modules, but skip them for now and click the Next button to continue
3.6. Create an Admin Account
In this step, you need to create an Admin account that you will use to manage your Magento website after. Make sure you always remember these credentials because you will need them to access your Magento backend.
New Username: Enter the username you will use for your store Admin account
New Email: Your website owner’s email
New Password: The strong password to access the store Admin account
Confirm Password: Type the password again to confirm
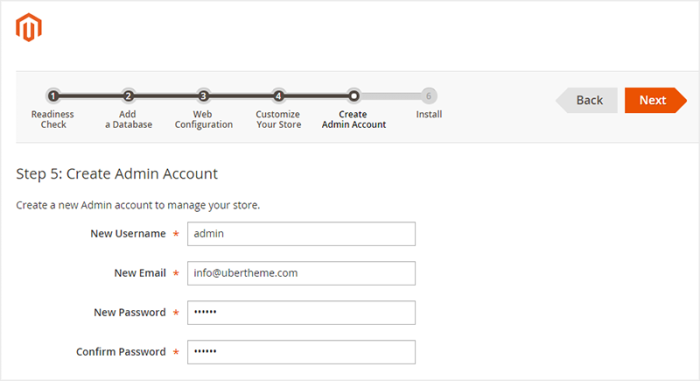
Click the next button when you are done.
3.7. Install
Now you are ready to install the Magento finish click Install Now to begin the installation. After the installation is complete, a page containing installation details will appear and show you the details of your installation. Click on the ‘Launch Magento Admin’ button and move on.
4. Finish
You will be redirected to the sign-in page, and input your Admin account username and password. These are the same credentials that you entered during the above step. After entering the correct information click the Sign-in button.
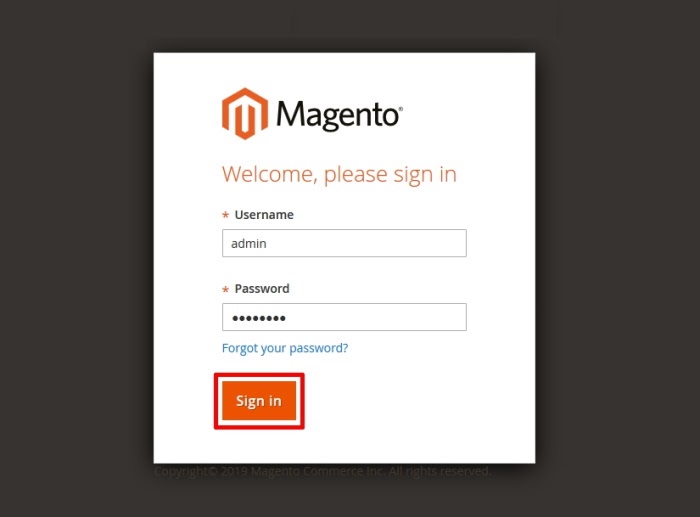
After that, you’ll be launched to the Magento Dashboard as shown below. This is your Magento backend, where you can manage and work with your website.
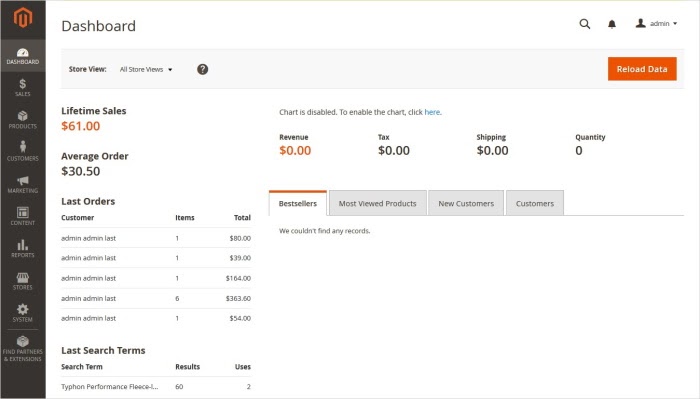
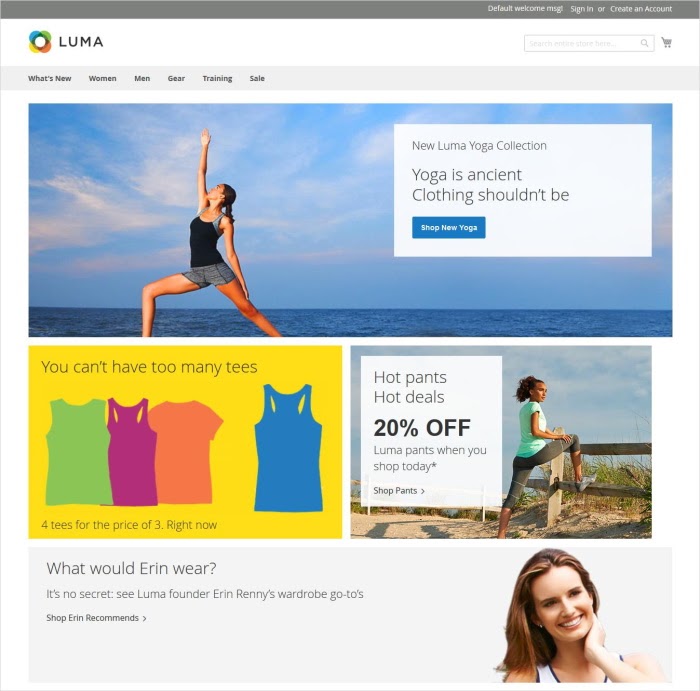
You can now preview your online store, explore its functions, and can configure or optimize it as you like.
Conclusion
Magento is one of the big platforms for people to start an online business. With lots of benefits and convenience, this is definitely for you to own a brilliant store and broaden the market and customers globally. If you want to understand more about Magento you can read our Magento Platform article for more detail, also remember to check out our Magento Website Development service to support your website. Contact us to know more information.
